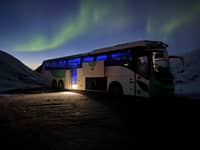
 Our pick
photo tour
Small group available
- Duration
- 6 hrs
- Rating
- 4.82 out of 804
- Guide
- English
- Price
- from $236
Guides
Language
EnglishCurrency
US dollar · $GetYourGuide shows its prices in the currency you pick.
Guide · Photography
Northern lights photography in Tromsø works when camera, tripod, and location are right. Here you will find an overview of settings, spots with foreground, and photo tours.
Editorial tromsonordlichter.deUpdated on October 2, 20266 min read12 sources
In short
A camera sees in the dark differently than your eye. With a long exposure it collects light over seconds and reveals colors that you often only perceive faintly outdoors. For this to work, it must stand still, you must set aperture, shutter speed, and ISO yourself, and the focus must be set to infinity. Automatic programs struggle with this task because they search for something they can focus on in the dark.
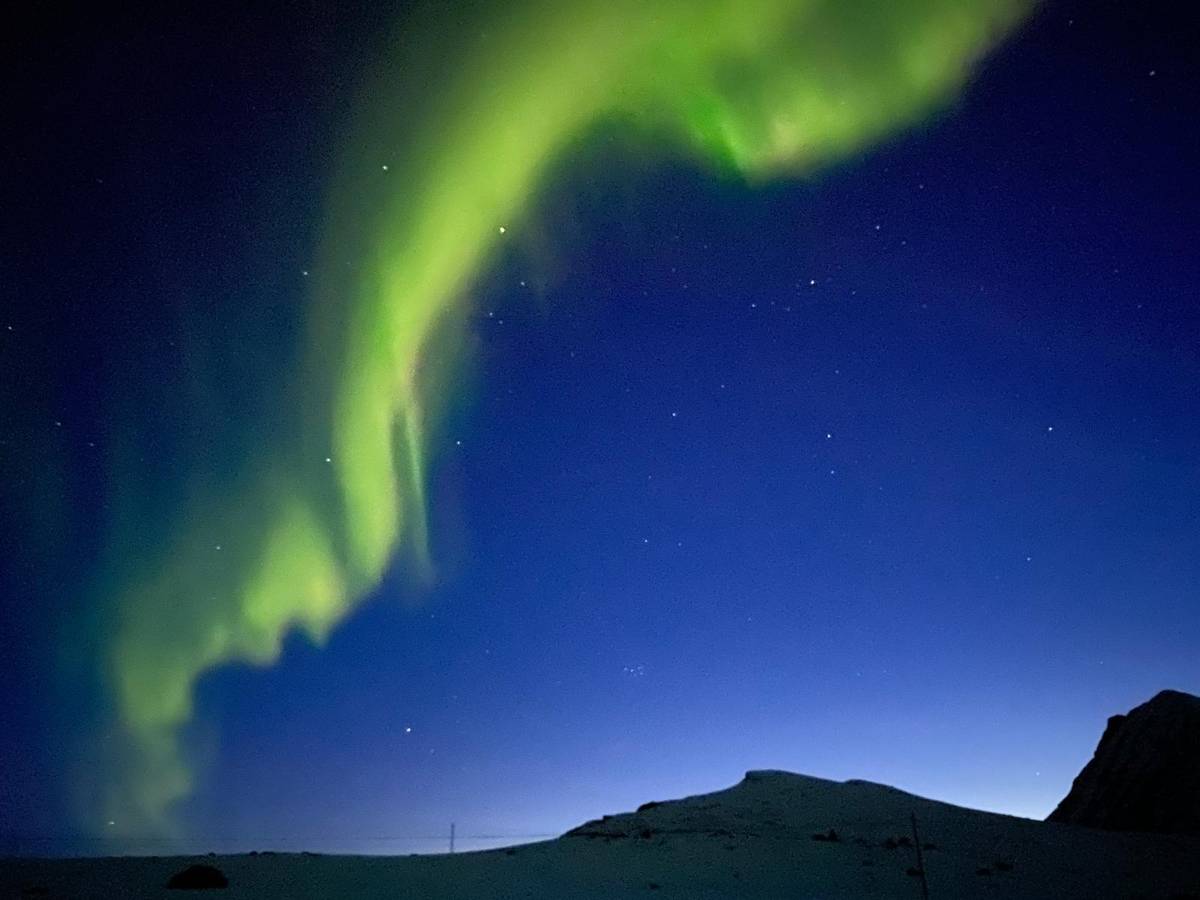
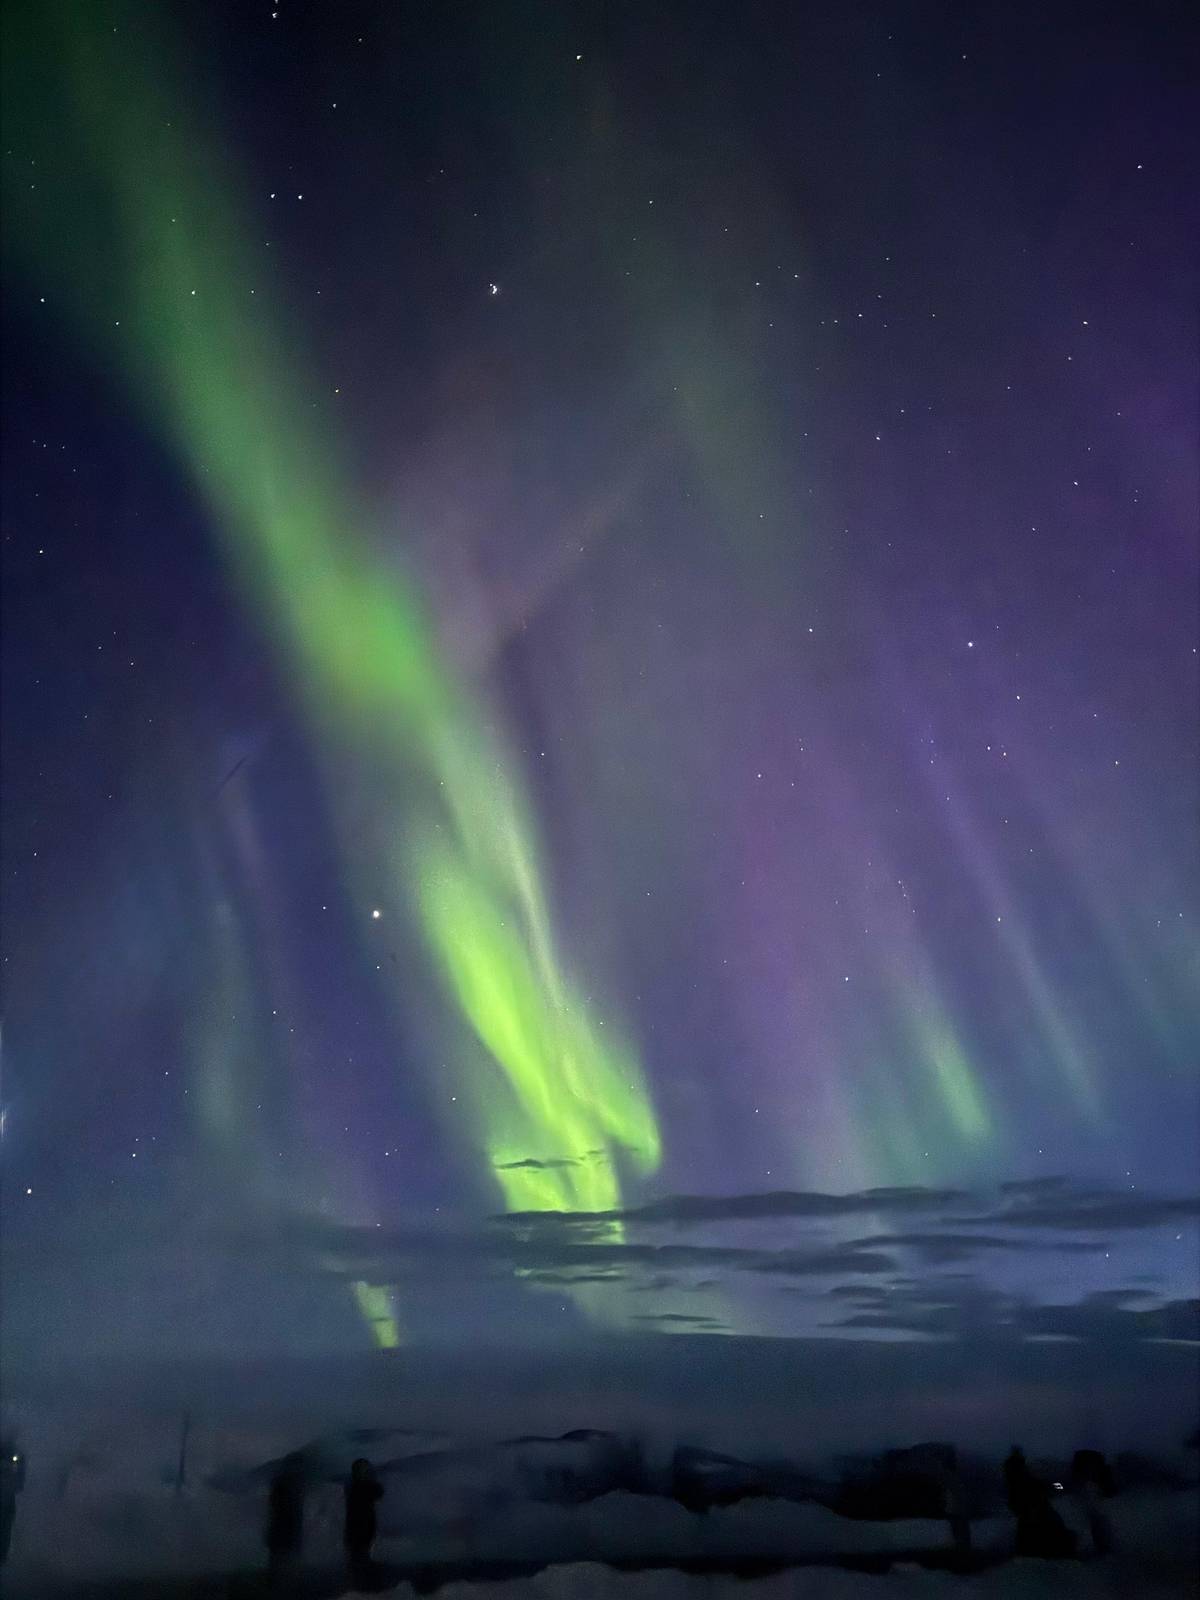
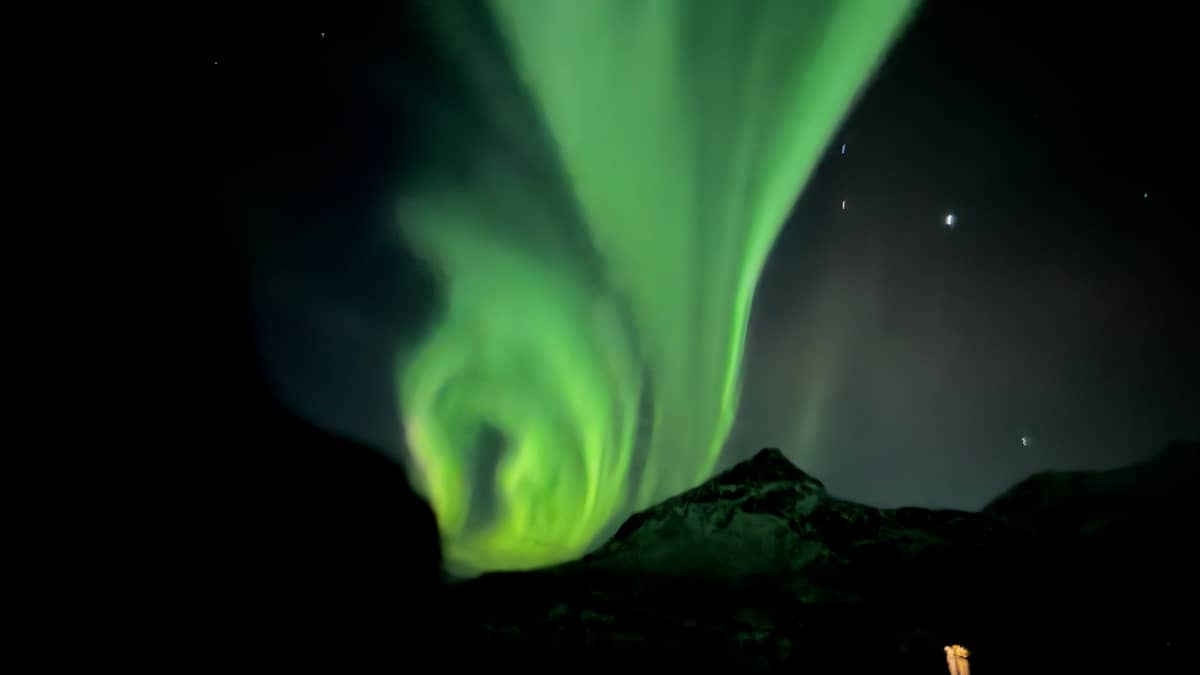
Good news: the aurora oval stretches directly over Tromsø, that ring of light around the geomagnetic pole.3 When the sky clears, you have great opportunities here for a memorable shot. The challenge lies less in the sky than in equipment and cold. Both can be prepared for, and whoever is prepared can focus entirely on the light in the crucial minute.
Whether mirrorless, DSLR, or a current smartphone with night mode: what matters is that you can expose long enough without the camera shaking. With a camera where you can set all values manually, you have the most flexibility. You can get surprisingly far with a phone if you mount it on a small tripod or place it firmly and let the night mode work in peace.
Photo night
Afternoon
Charge your batteries, focus on a distant target in daylight, and mark it.
Early Evening
NOSWE offers one-hour and four-hour forecasts for Tromsø.4
Before 8:00 PM
Take test shots while the sky is still calm.2
8:00 PM to 2:00 AM
The northern lights are often most active during this time.2
Back in the Warm
Leave it in the closed bag so nothing fogs up.
Start with the ISO sensitivity. Visit Tromsø recommends a starting value of about 1600 to 3200.1 If the northern lights are especially bright or there is a lot of light from the moon or snow in the landscape, you can also manage with a lower value.1 A lower ISO value means less image noise, so finer details in the sky and cleaner dark areas in the foreground.
Open the aperture as wide as your lens allows. The more light passes through the glass, the shorter the exposure can be. The shutter speed itself is a matter of character when it comes to northern lights: short times freeze fast, flickering bands and show their structure. Longer times turn calm arcs into soft, glowing areas, but if you overdo it, stars become streaks.
After each shot, take a look at the display and the histogram, then change only one value. If the image is too dark, lengthen the exposure or increase the ISO. If the sky is overexposed, go the opposite way. Lower the brightness of the display so it does not blind you and does not bother others at the spot who are trying to get their eyes used to the dark.
Settings
| Conditions | ISO | What you adjust |
|---|---|---|
| Normal northern lights, dark night | 1600 to 32001 | Extend the exposure if it gets too dark |
| Very bright northern lights | below 16001 | Use a shorter exposure to show structure |
| Bright moonlight | lower1 | The foreground benefits, the sky appears brighter |
| Snow in the landscape | lower1 | Watch for overexposed areas |
Starting values based on the photography tips from Visit Tromsø; the right exposure time depends on the lens and the brightness of the light.1
Photo Tours
Our pickSmall group available
 In German
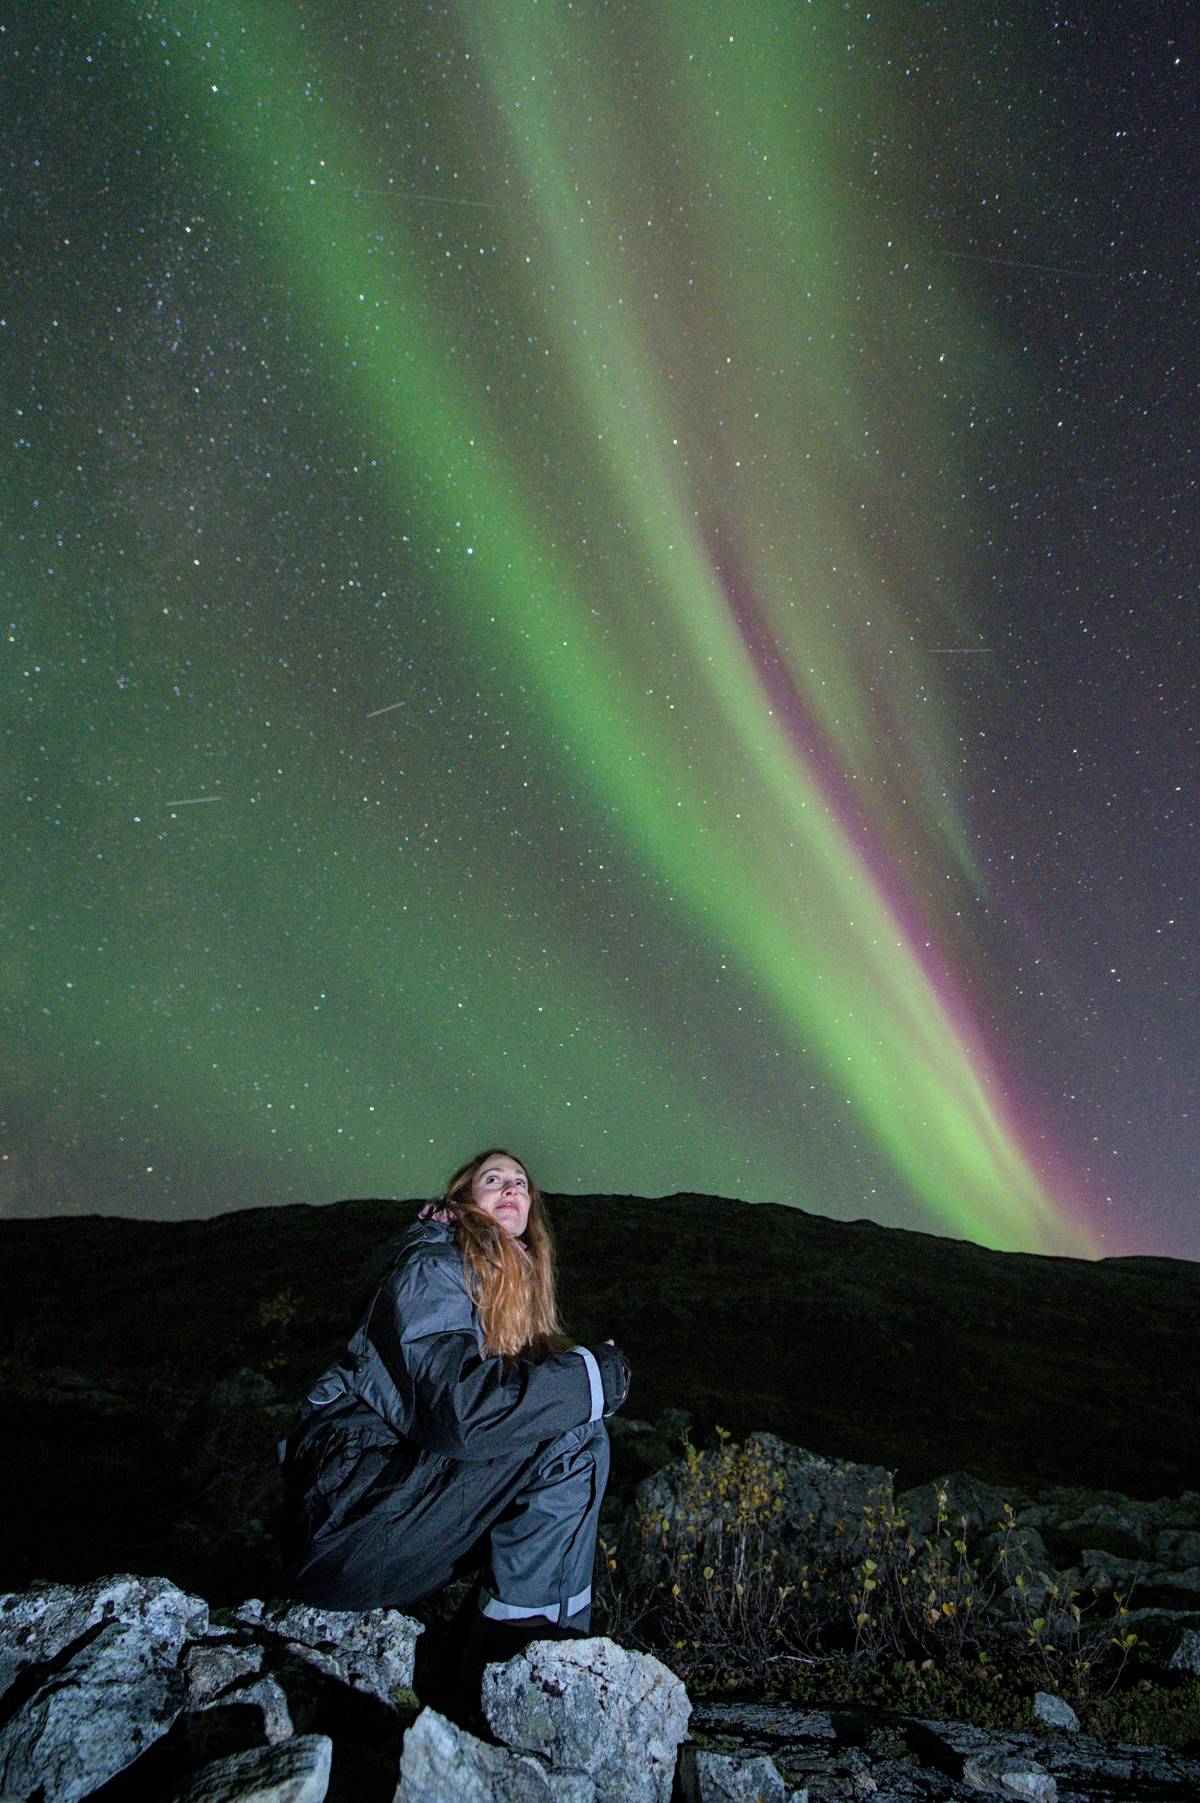
With Professional Photographers
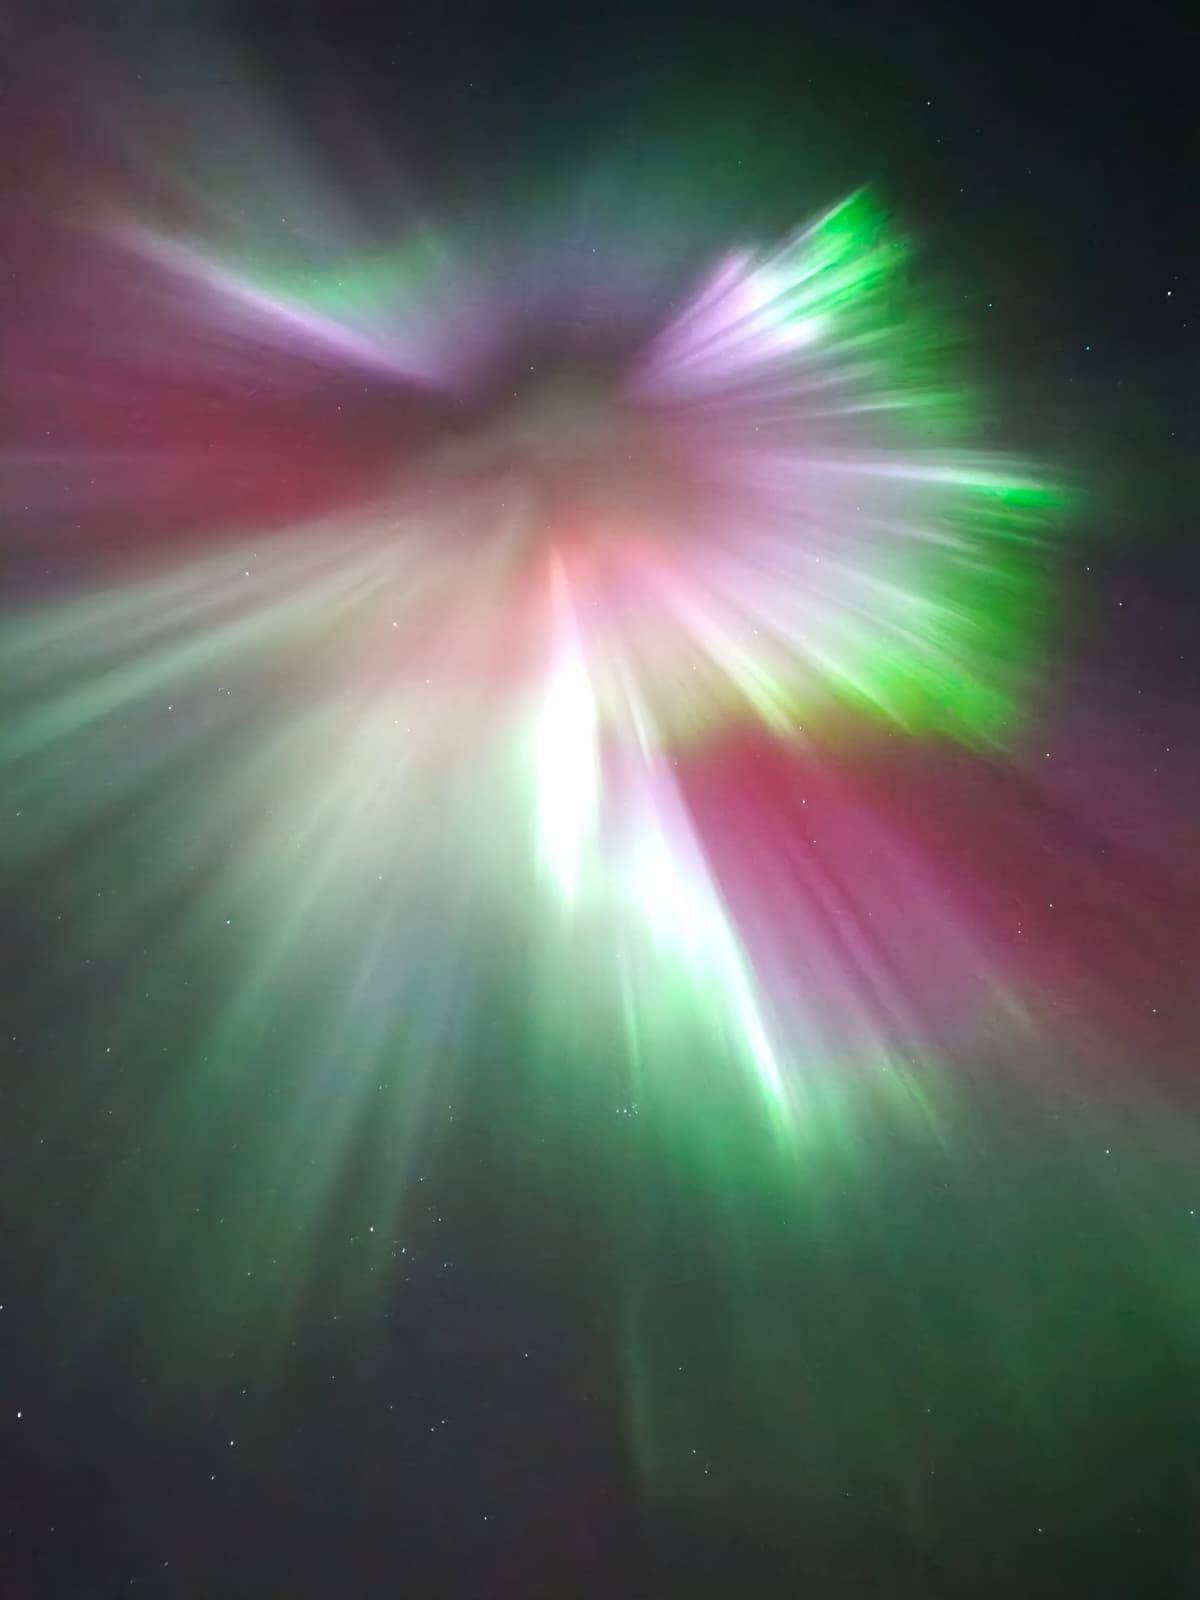 Affordable
Longer Night
Decision helper
What matters to you when photographing?
The recommended photo tour lasts 6 hours; a small group is available.
With a professional photographer, maximum 8 participants.
The safari on this page carries the photos in its name and starts from $61.
On Kvaløya, a lovely spot for the hunt from late summer onward.5
The waterfront gives you a foreground, on clear winter evenings with a chance of northern lights.6
If the aurora is especially bright or there is a lot of light from the moon or snow, a lower ISO setting may be enough.
Unsharp stars ruin a northern lights picture faster than any wrongly chosen exposure. Autofocus finds no anchor at night, so you focus manually. Some lenses have a marking for infinity, but it is not always in exactly the right place. Do not trust it blindly, but check the sharpness on the image itself before the night really begins.
Focus reliably on a bright star or a distant light on the horizon. Switch to live view, zoom in as far as possible, and turn the focus ring until the point appears smallest. Then fix the ring with a strip of adhesive tape so it does not shift with cold fingers or in your bag during transport.
Make a test shot before the real thing and check it at full magnification. You would rather invest a few minutes here than later find that the most beautiful night of the trip is blurry on the memory card. If you are shooting with a phone, tap a bright spot in the sky in night mode to set the focus, and then let the device lie completely still.
Map
In the city there are darker spots; when it is cloudy, the search goes out into the countryside.
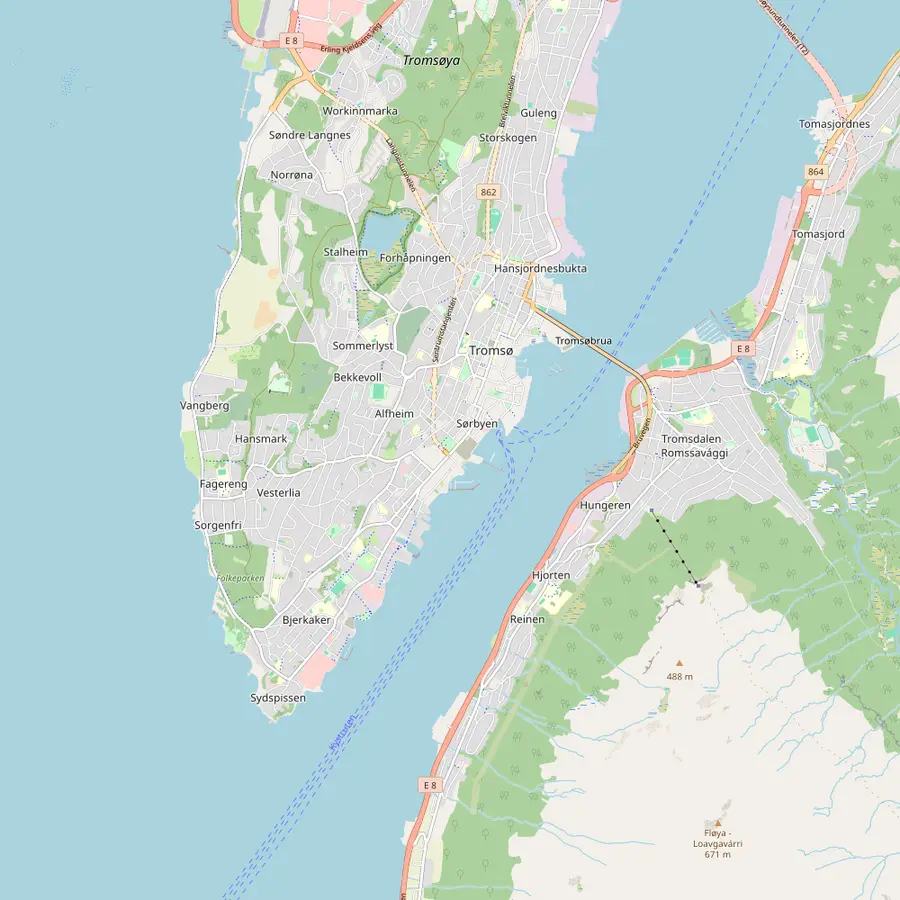 1Telegrafbukta2Prestvannet3Storsteinen
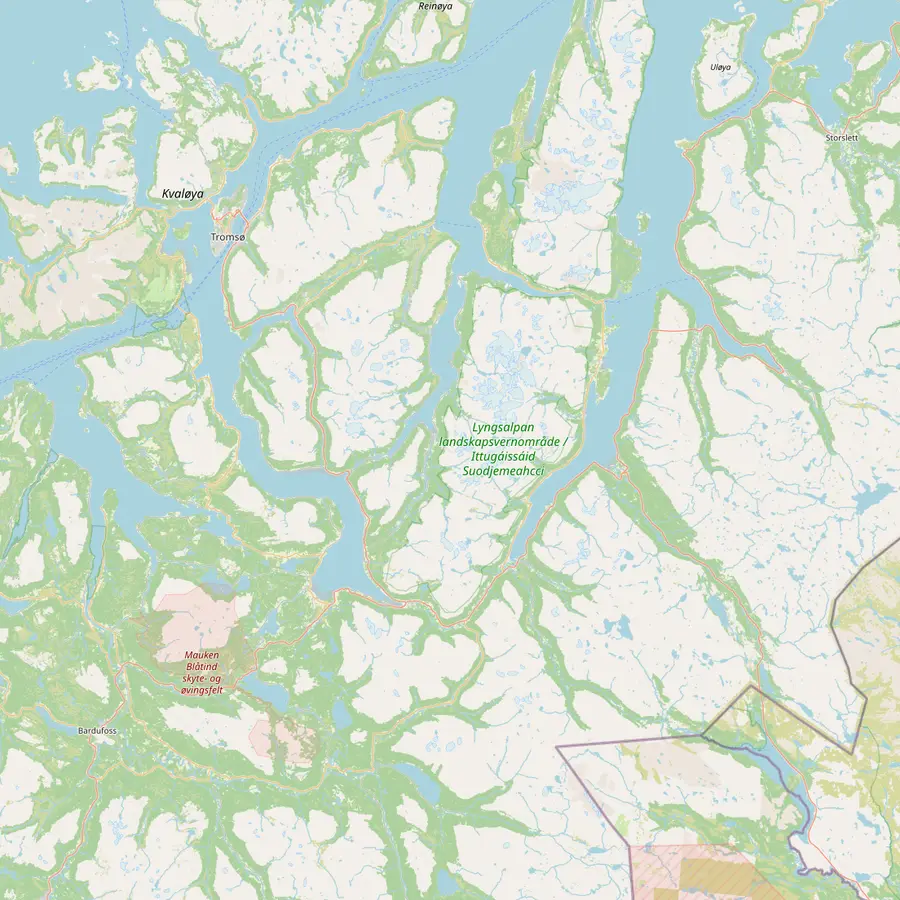 Clouds toward Finland
Tromsø
4Grøtfjord5Kilpisjärvi (Finland)
Clouds toward Finland
Tromsø
4Grøtfjord5Kilpisjärvi (Finland)
Book on the southern side of Tromsøya island; on a clear winter evening, a spot for northern lights.6
The lake in the middle of the island and one of the darker spots in town from which northern lights can be visible.7
The cable car takes you up in four minutes to 421 m above sea level; the operator advertises the view of the city and the northern lights.8
When the evenings get dark from late summer onward, a good spot to watch for northern lights.5
Equipment
Cost calculator
Choose a tour and the number of people.
Total from$472
from per person $236
Check availabilityfree cancellationDeparture prices according to GetYourGuide, converted at the ECB reference rate. The exact price is shown when you book.
Video
The video only loads when you tap Play.
A sky full of green only becomes a picture when it has a place to call home. Mountains, trees, a shoreline, or a house give the light scale and depth. In the city, Telegrafbukta is a great choice: on a clear winter evening you can see the northern lights there with the shoreline in the foreground.6 Prestvannet is one of the darker spots in the city from which the lights can also be visible.7
The Fjellheisen cable car takes you up to Storsteinen at 421 m for a view of the city lights.8 From up there you photograph the northern lights over houses, bridges, and the fjord. City lights on such shots are not a distraction but part of the story. Just keep in mind that it can be windier up top: a sturdy tripod or a weight on the center column hook will keep your camera steady.
Those who truly seek dark skies head out. On Kvaløya, Grøtfjord is a beautiful place to watch for northern lights from late summer onward.5 There you have mountains and water as a frame and far less artificial light than in the city. Without a car, reaching such spots in the evening is complicated, and that is exactly where a photo tour shines.
Cold affects not only you but also your gear. In winter the average temperature in Tromsø is around −4 °C.11 Batteries lose noticeable power in the cold. Bring spare batteries and keep them in an inner pocket close to your body. Swap them as soon as the indicator drops, and warm the empty battery in your pocket so it can deliver power again.
The second problem shows up when you go inside. When a cold camera enters a warm room, it fogs up inside and out. Put it in a sealable bag or your closed camera bag by the door and let it slowly come to room temperature. This protects the lens and electronics from moisture that would otherwise settle inside.
And then there is you. If you are cold, you shoot poorly. Visit Tromsø recommends a base layer of wool, then dry warm layers on top, plus warm footwear, gloves, scarf, and hat.12 Thin liner gloves under thick mittens are especially practical for photographers: you only take off the mittens when you need to operate the camera.
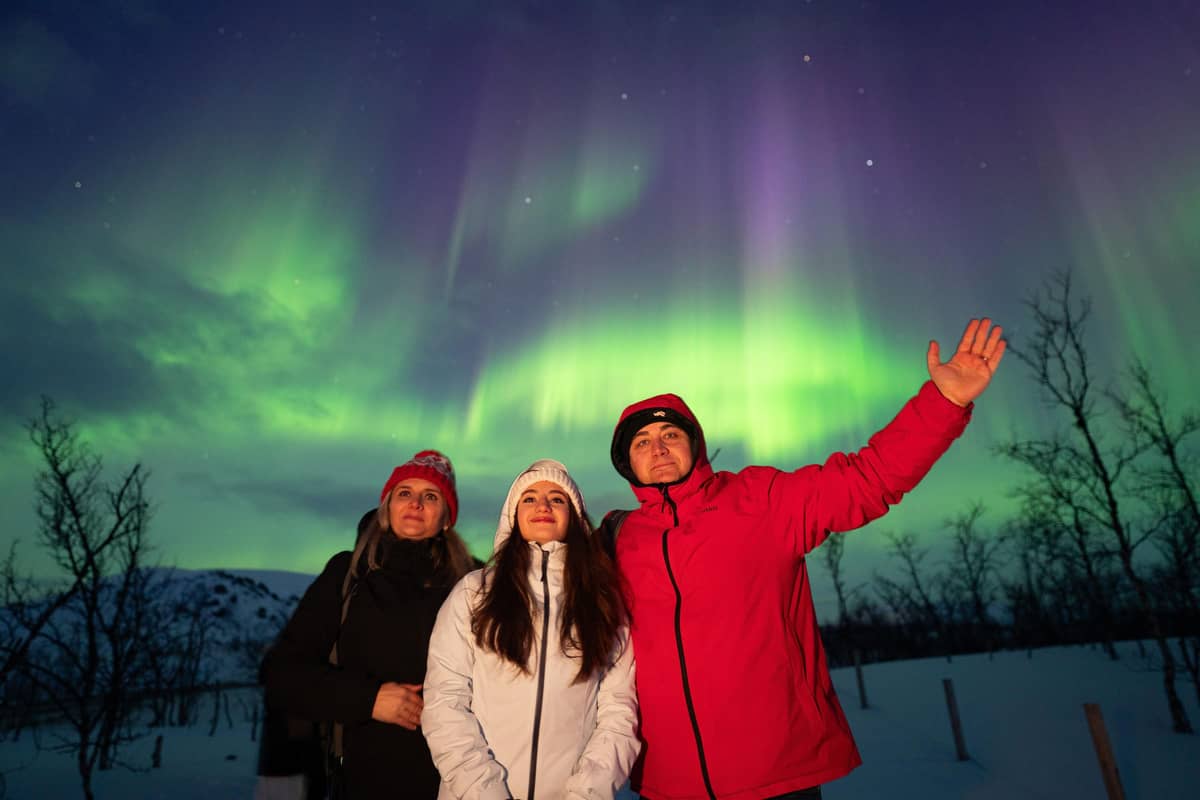
If you go out alone, you need to handle spotting, technique, transport, and weather all at once. A photo tour takes at least the transport and the choice of location off your hands. The photo tour we recommend here lasts 6 hours, scores 4.82 out of 804 reviews, and is offered from $236. A small group is available, and the tour is guided in English.
Prefer German? Then there is a northern lights hunt with a professional photographer in German. It lasts 7 hours, is limited to 8 participants, and is offered from $241. With 5 reviews and a rating of 5.00, however, it has barely been tried yet. A more affordable photo tour lasts 7 hours and starts from $96, with 4.29 points from 874 reviews.
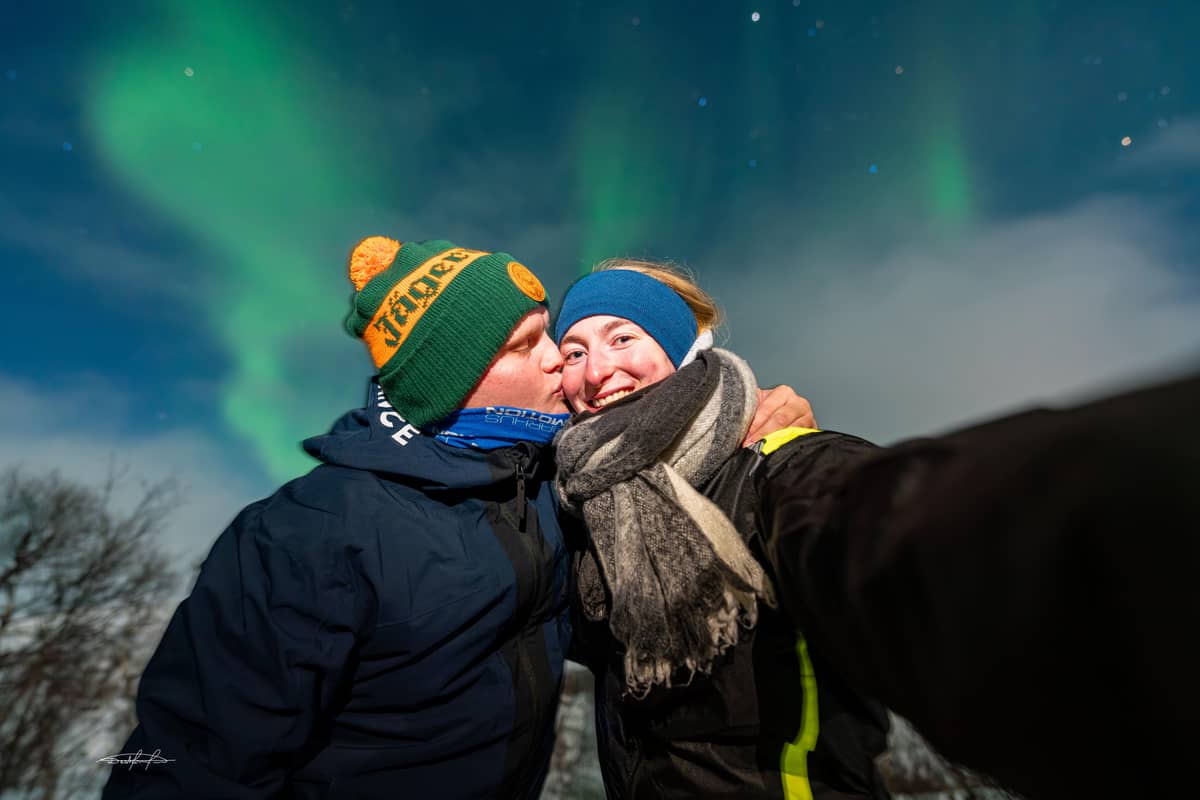
And the safari on this page? It has the photos right in its name, lasts 6 hours, is offered from $61, and the guides speak German too. Whether you get help with your own camera along the way is not stated in the offer. If you mainly want a nice memory picture, look at the photos in the name. If you want to learn yourself, choose a tour that explicitly calls itself a photo tour.
Prepare everything in the afternoon: charge your batteries, clear your memory card, check your tripod, and set and mark focus on a distant target in daylight. After that, take a look at the NOSWE forecast, which covers Tromsø for the current hour and the fourth hour ahead.4 That way, you know whether the evening outdoors is worth it and where to head.
The prime time starts in the evening and often runs from about 8:00 PM to 2:00 AM.2 Be at your spot beforehand, set up at a relaxed pace, and take test shots while the sky is still calm. When the light arrives, you will want nothing more than to shoot and make small adjustments, rather than digging through your bag for the remote shutter release.
Do not shoot nonstop. Take deliberate breaks to experience the show with your own eyes, without viewfinder or screen. Calmly reading the movement in the sky helps you catch the moment when an arc begins to unfold. And a northern light you truly saw will stay with you even if the shot did not turn out perfectly sharp in the end.
Book safari
Reserve now, pay later, and cancel free up to 24 hours before.
Around 1600 to 3200 to start. If the lights are bright or there is a lot of moon or snow light in the landscape, a lower value is enough.1
Yes, for long exposures. Without a stable support any longer exposure will blur. If necessary, you can place your phone firmly on a stone or a railing.
Yes, with night mode and patience. Place the phone on a surface or use a small tripod, tap a bright spot in the sky, and then press the shutter.
Around Telegrafbukta or Storsteinen. Telegrafbukta offers the shoreline as a foreground, Storsteinen the view over the city.68
Often between 20:00 and 02:00. They can appear throughout the night, but they are often most active in this window.2
Yes, with a professional photographer. It lasts 7 hours and is limited to 8 participants.
Keep spare batteries warm, warm up slowly. In winter the average temperature is around −4 °C.11 Pack the camera in a closed bag before going inside.
Sources
Read more